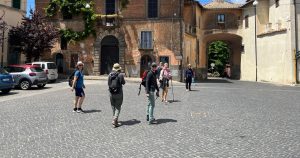
Venturing along the Via Francigena is a rich and rewarding experience, as well as being impeccably healthy. An ardent spirit of adventure, curiosity and enthusiasm in those who wish to undertake this journey are essential stimuli, to be accompanied, however, by a healthy dose of caution! Yes, because in addition to fatigue, bad weather and overcoming some difficult terrains, our bodies too can play tricks on us and cause us, despite ourselves, to interrupt our experience. In this article you will therefore find some advice on how to prepare your own first aid kit.
Prevention, it must be said, also passes through vaccinations that, although taken for granted or provided from birth, should be checked to know if they have been ‘updated’: first and foremost the tetanus shot. There are other vaccinations that are more specific to those who walk in the woods, rather than in places where wild animals are present (such as anti-rabies). For more information, we advise you to check with your doctor.
Eating well to walk well
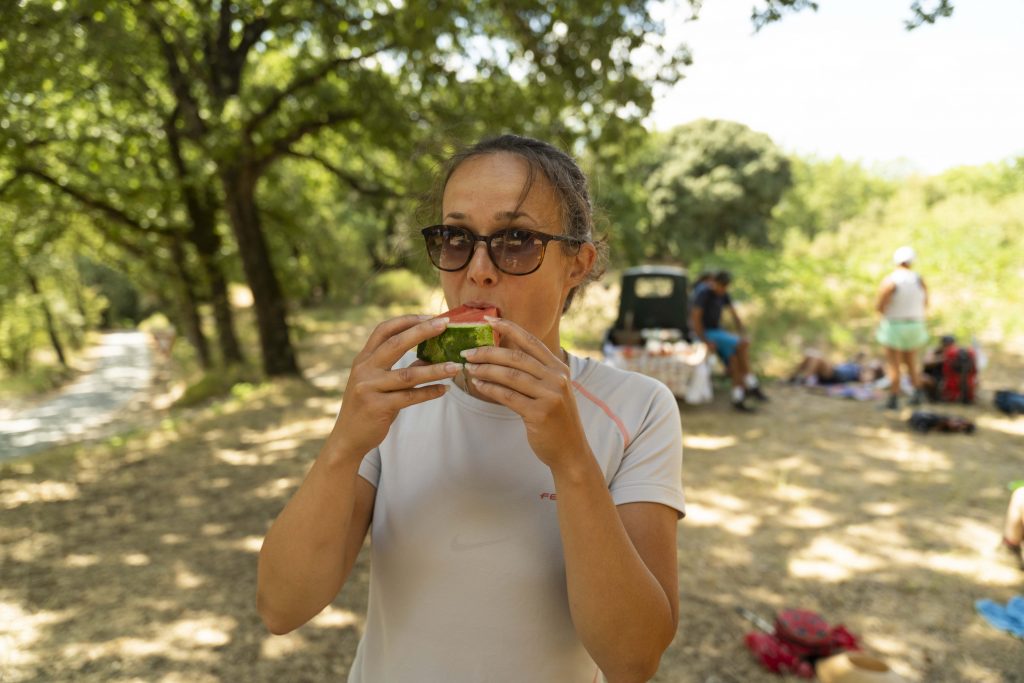
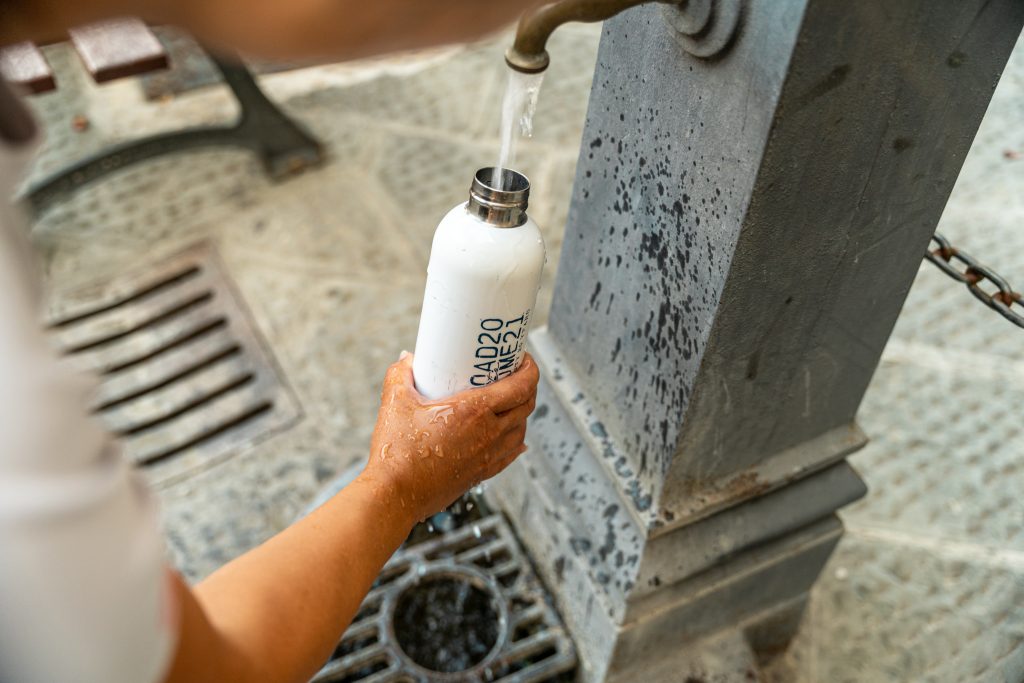
A first prevention factor to consider is that along the road it is very important to eat properly and regularly, with three meals a day (a good breakfast first and foremost), with some snacks as well, without missing out on fruit and seasonal vegetables, the main sources of sugar and vitamins (an apple gives you more energy than a coffee). It is also very important to drink often (especially if you are travelling in summer) and not to travel more than 15 km without first drinking water and having a good supply of at least one and a half litres with you.

The journey is made with your feet
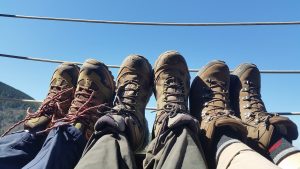
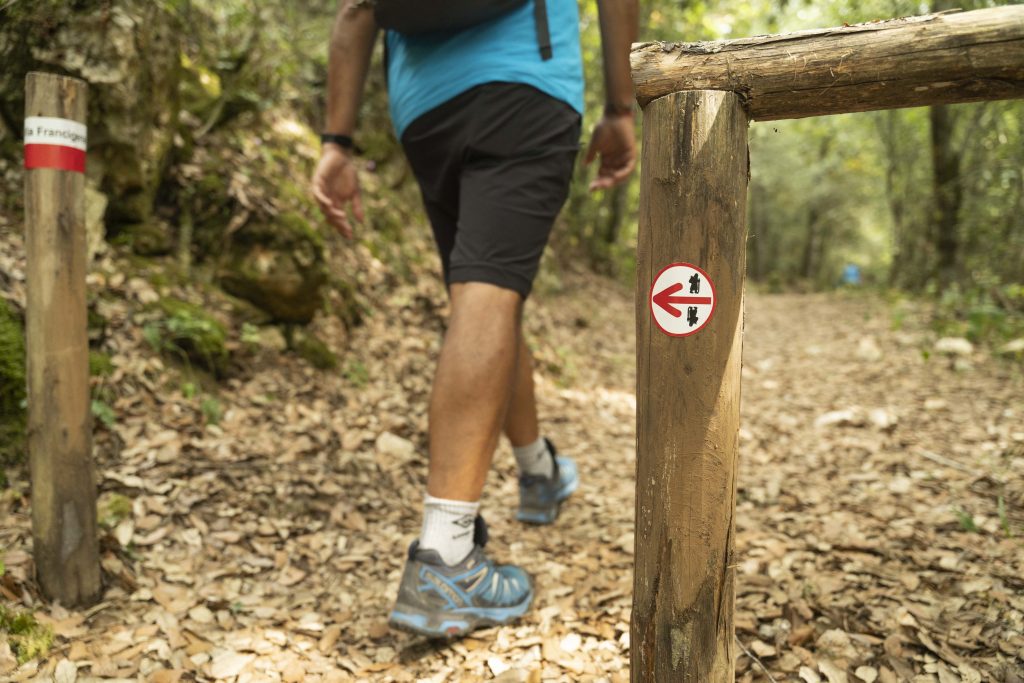
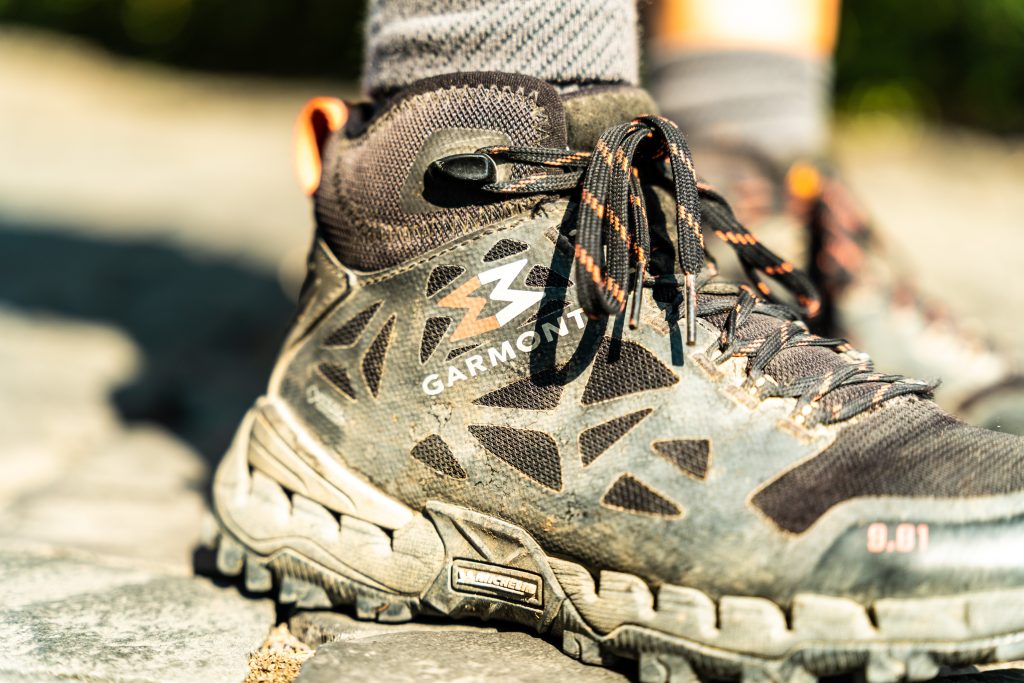
Pay close attention to the way you take care of your feet! Take care of them, don’t treat them as a part of your body that serves as a mode of travel, but give them proper attention! Your feet must already be familiar with your footwear, so make sure they are not brand new when you start your long walk. If possible, they should be boots that hold the foot in place and thus provide stability. Always remember: high-ankle shoes means you’ll have more stability if you’re carrying a heavy backpack.
👉🏻 Click here for more tips on choosing your hiking shoes
In addition, to avoid injuries, it is important to wear seamless cotton socks or socks with reinforcements at sensitive points. First, prevent blisters from forming and keep your feet moisturised by applying natural creams based on Shea butter or Vaseline before starting to walk and at the end of each stage, after carefully washing your foot.
Paying attention to cleanliness is not something to be underestimated, so always make sure to dry your feet properly after cooling off in water, because through moisture, mycosis (fungal colonisation, also known as ‘athlete’s foot’) is lurking. If you suffer from joint problems, don’t forget to bring ankle or knee pads and elastic bandages, which can ease discomfort during descents and help in case of tendonitis in the instep (trekking poles are another useful support).
It remains essential and strongly recommended to do some stretching exercises before setting off, as well as taking breaks along the stage. Exercises that activate the foot and leg muscles are sufficient, along with a few exercises to stretch your back and gently stress the postural muscles.
👉🏻 Discover here the discount reserved for Via Francigena pilgrims on the purchase of a pair of Garmont shoes
Safe walking is possible with the right kit
So how do you put together your very own first aid kit? Before starting this process, it is useful to consult with your doctor and/or pharmacist to choose what to put in your medical kit. What is described here is in fact a general indication, which certainly does not replace the advice of a medical professional. Obviously, during the trip you will also have access to pharmacies, medical services or hospitals in the towns along the route.
In addition to the moisturising creams, anklets and wipes mentioned above, here is a list of what to include in your first aid kit divided into two different priorities:
Priority 1
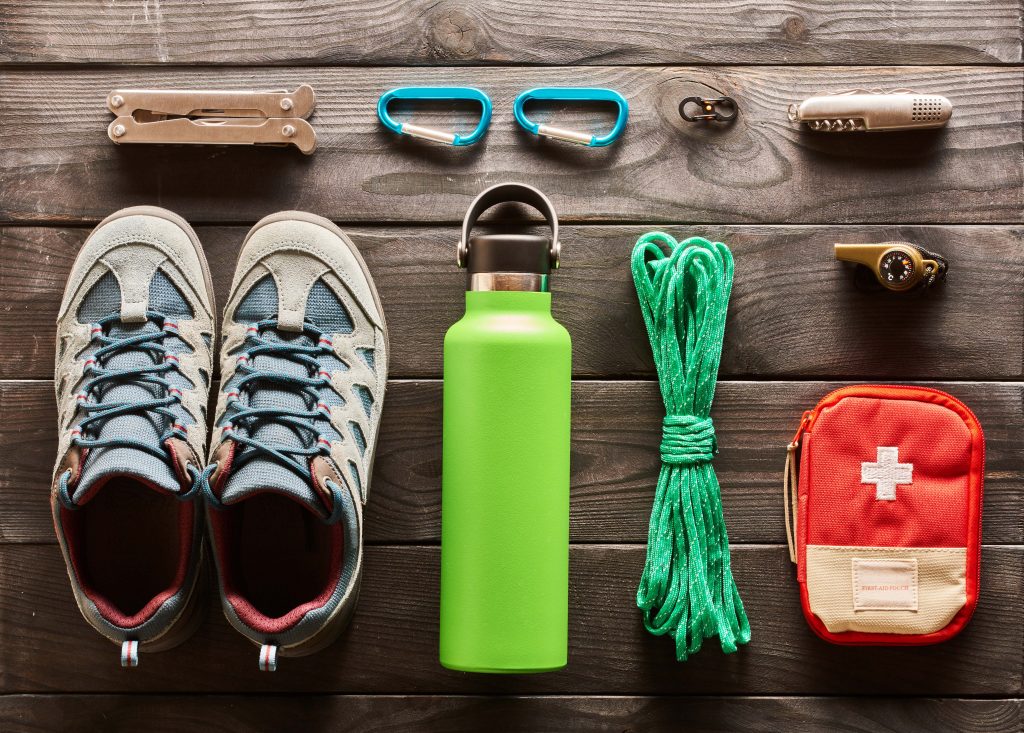
- Alcohol, disinfectant or hydrogen peroxide
- Bandages, plasters, medical tape and/or sterilised gauze
- Hand sanitising gel
- Compeed for blisters, which should never be removed, as once they have performed their function they fall off by themselves. If you take them off manually there is a risk of tearing the skin that is needed to heal the affected area
- Sachets of mineral salts (and also sugar)
- Tweezers to remove splinters or ticks (in case of ticks, if you are near a town or city it is best to get help from a doctor or pharmacist). Memo: ticks should be removed by rotation, if you are inexperienced it is better to leave them where they are and get help at a medical centre.
- Swiss army knife
- Whistle: use it in case you need to call for help. The alarm signal is given by emitting 6 whistles in one minute (1 every 10 seconds), followed by a pause of one minute and then another 6 whistles in one minute (1 every 10 seconds)
- Lighter
- Needle, thread and scissors
- Sun protection cream
- Medication based on personal needs
Priority 2
- Paper tape
- Spray plaster to apply to the blisters between the toes
- Betadine to clean the blister before puncturing it with a (burnt) needle and thread
- Medications: ointments such as arnica; antihistamines (especially if you suffer from allergies); enterogermine (to restore the intestinal flora); anti-inflammatories and painkillers such as paracetamol, ibuprofen or ketoprofen (always take on a full stomach); antibiotic scarring (e.g. cicatrene)
- Instant ice
- Digital thermometer
- Insect repellent spray. In case you have a great dislike towards insects, you could considering using permethrin spray which has a repellent effect lasting up to two whole weeks. The spray is applied on your clothes, and you can also apply it to mosquito nets, curtains, sheets, etc.
- Gel for insect bites
- Thermal blanket
- Torch or head torch that provides light and the freedom to use your hands to medicate yourself
Where to start when procuring the KIT?
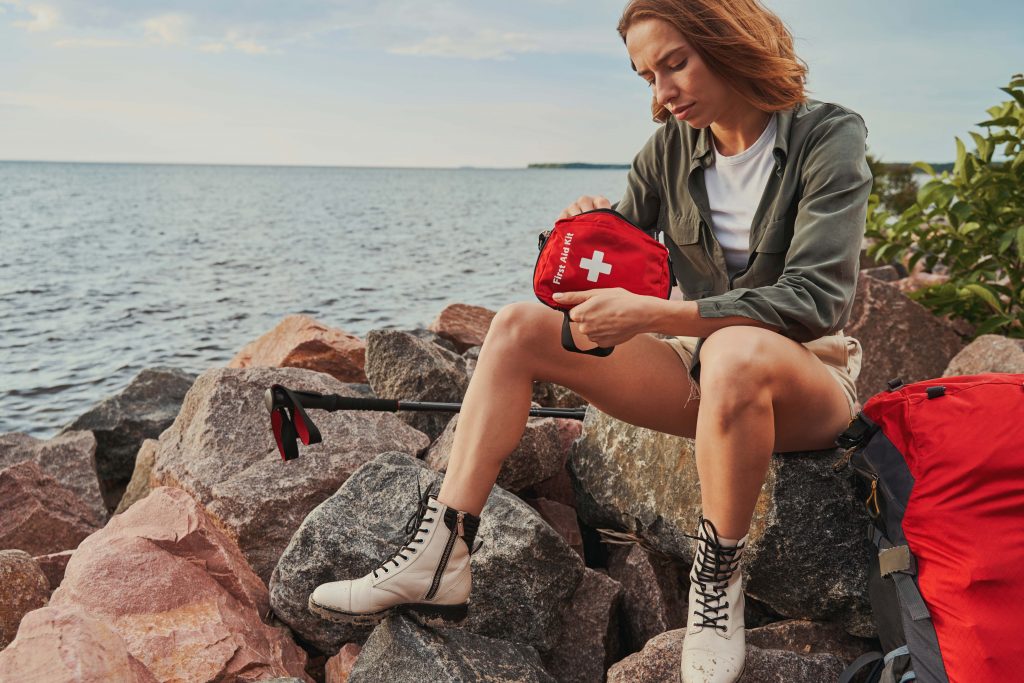
Building the kit to suit your own needs is the most convenient; however, there are plenty of kits on the market that are already complete. Keep in mind that it should have a good casing, i.e. soft and waterproof. In addition, the kit should be placed where you can easily reach it when needed (usually in the small pocket on the top of your backpack), even in situations where you may have little freedom of movement.
Also, when thinking about what to put in the first aid kit, you have to consider the journey ahead: this is neither a country outing nor a high-altitude climb, but a longer or shorter walk in which certain situations can occur. Also take into consideration whether or not you are able to use all the materials in your kit. Indeed, it is useless to carry tools that you are not able to use! It is good to remember that carrying too many things weighs down your backpack. It is therefore not necessary to bring an entire pharmacy with you, but only the essentials to be able to take care of yourself in case of need.
👉🏻 Discover the excursions organised by Luca Faravelli and his fellow guides on www.altuopasso.it


