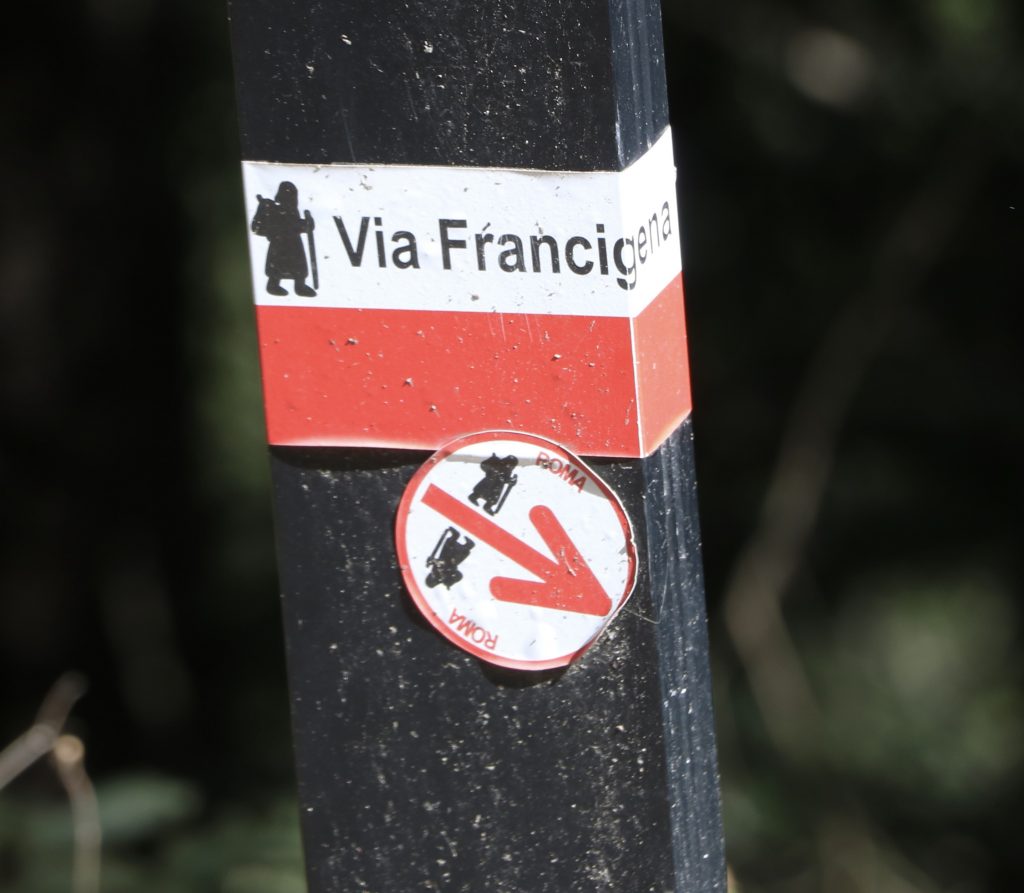
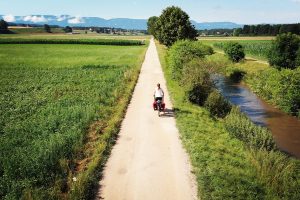
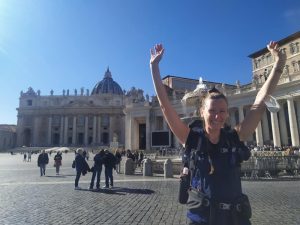
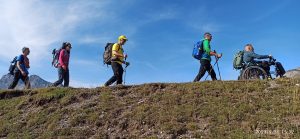
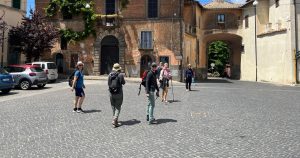
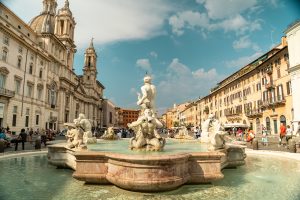
Several months ago, our family of four decided to hike a part of the Via Francigena, a pilgrimage trail that extends from Canterbury in the United Kingdom, through France, Belgium, and Switzerland to Rome, Italy. For those who might also be tempted by a similar experience, this is the story of how we prepared for it and how it worked out for us.
A Family Vacation Trek – Wait, What?
It is fair to say that when I first proposed to my family that we undertake a trek along a section of the Via Francigena for our summer vacation, the idea was met with a mixture of curiosity and concern. After all, our summer vacations tend to be a combination of beach/pool laziness highlighted by some cultural visits. Getting up early to hike over mountain trails every day for a week didn’t sound like much of a vacation, and, worse, it sounded hard. But in the end, the attraction and challenge of a different kind of vacation won out. However, once the decision had been taken, we realized that we had to think hard about what we as a family had to do to make it work.
Introductions
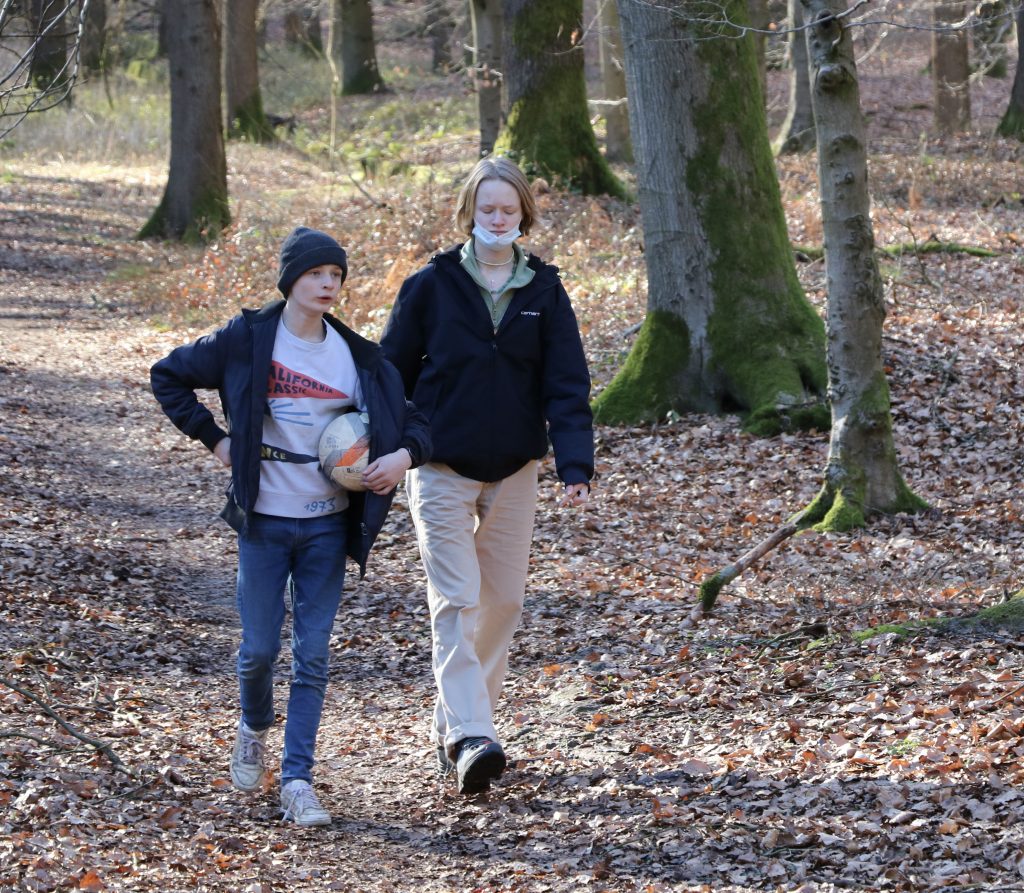
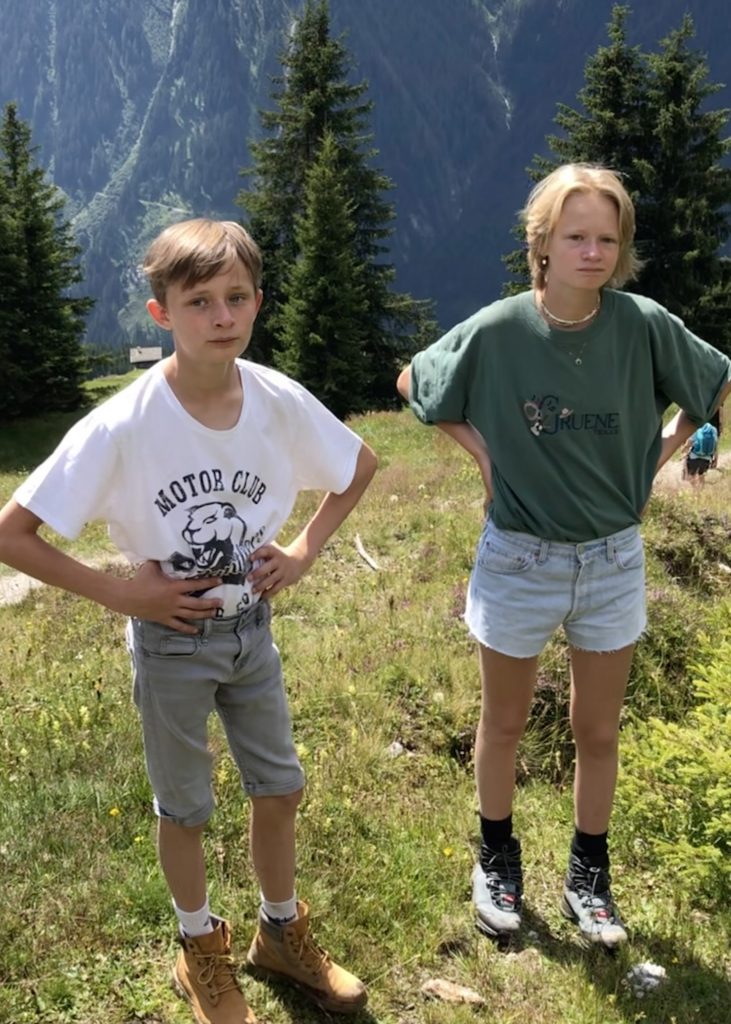
On the surface, our family is fairly typical: a mother, a father and two young teenagers, a boy and a girl. Less typical, though, is our age spread. Due to the age difference between my wife and me, as well as our late start in the parenting game, our two children are 13 and 15 years old, while my wife is 51, and I recently turned 68. This means that any family activity has to be interesting both for long-suffering adults and for teenagers with short attention spans. It also has to be physically active for everyone without being too challenging for anyone.
More to the point, we had never engaged in any sort of long-distance trekking, or even camping, as a family. We are all moderately active, taking occasional day hikes on the weekend in the forests of our native Belgium. But the closest we had come to this sort of adventure was the summer before in the Austrian Alps when we stayed in a single hotel, striking out for several day-long hikes over a 10-day period.
So this means that while we are not helpless couch potatoes, we are not experienced trekkers either. Clearly, we would have to prepare for this trip far more than for a typical dolcefar niente vacation. It would not be enough to just pack our bags and show up at the airport on time. We had to think about what clothing and equipment we would need for every type of weather and terrain, knowing that it would not be possible to simply throw another pair of shoes or pants into our suitcase just in case. And we had to start getting into shape so that the hike itself would be exciting, even challenging, without being painful. In the end, I think that this was part of the attraction of this different sort of vacation: we had to work to deserve it.
Getting in Shape
So how did we prepare for this week-long trek? First was the physical preparation to get in shape.
Our two kids are active Boy/Girl Scouts, so they just continued with their normal scout-related outdoor activities, as well as playing tennis and football as they usually do. In fact, I never foresaw any real problems with them in terms of stamina. My experience with previous outdoor activities is that the hardest part with teenagers is getting them out of bed in the morning. Once they start moving, their momentum keeps them going without any trouble.
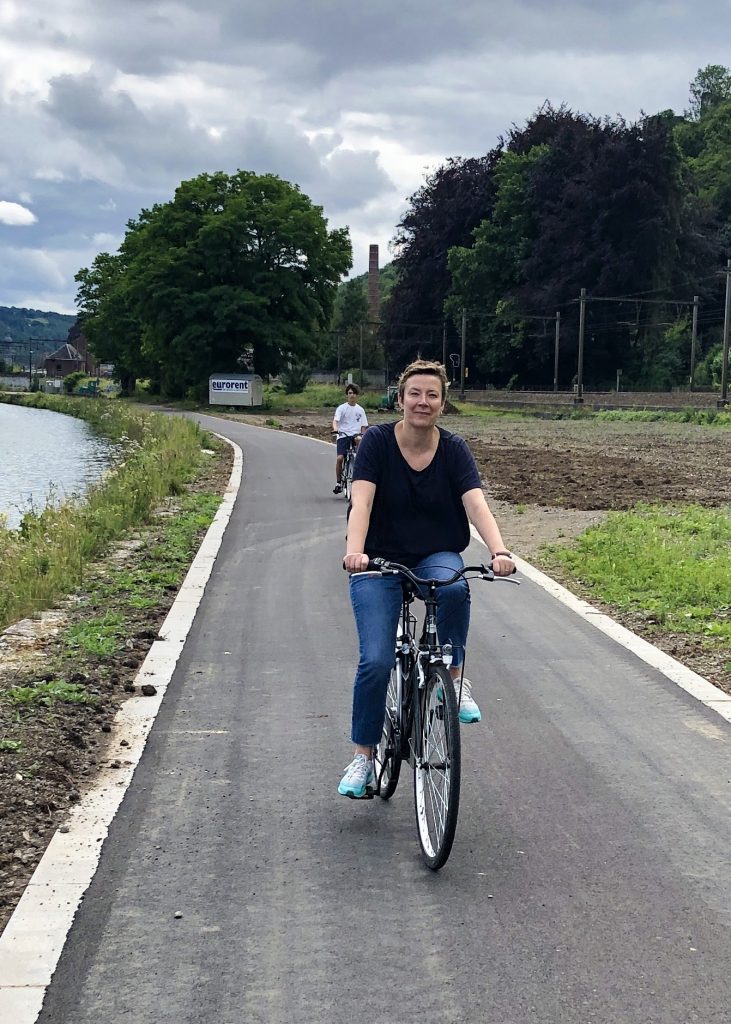
My wife’s preferred sport is swimming, which is good for building endurance but not so good for strengthening the muscles needed for mountain trekking. Still, she increased her pool presence as well as the number of laps swum each time. As for me, I am an unabashed gym rat, so I used the machines to help build specific leg strength and overall flexibility. This preparation was doubly important in my case, as I had recently undergone significant operations on both of my knees. While I had done some hiking the previous summer in the Alps, this would be the first real test drive for my new knees, because this time we were committed to hiking every day to get to the next rest stop along the itinerary, regardless of the terrain, the weather or how tired or sore we felt. Finally, to build stamina, we took bike rides, and we took longer and more frequent weekend hikes as a family, for example, in the Belgian Ardennes, not only to get in shape but also to break in new hiking boots and weight test our backpacks.
Anyway, that was the plan. The reality is that in preparing for our trip we did exercise more than we would have normally, but not as much as we had planned to do and should have done. So as we packed our last things in the car before starting our road trip from Belgium to Italy to begin the trek, our attitude fell somewhere between Les jeux sont faits and Que sera sera.
Planning the Trip
Preparation for the trip also included defining the actual segment of the Via Francigena that we planned to hike. For this, I made extensive use of the book The Via Francigena by Roberta Ferraris, as well as a topographical map published by Meridiani Cammini that covered the different segments of the trail from Gran San Bernardo to Lucca. With only two weeks total for our vacation, including the drive to Italy and back, we decided to limit ourselves to the portion of the trail that cuts through Switzerland and part of the Val d’Aosta in northern Italy. While the sections of the Via Francigena that pass through the central parts of Italy are culturally rich and appealing, we opted for northern Italy, hoping to avoid some of the tourist crush that these areas attract, as well as to benefit from somewhat cooler weather and denser tree cover that can be found at the higher altitudes in the north. Two days before our departure, the withering heat waves that were then sweeping over Europe seemed to validate this plan. While projected temperatures were high in northern Italy, they were much hotter in the central and southern regions, probably unsustainably so for a week of strenuous outdoor activity.
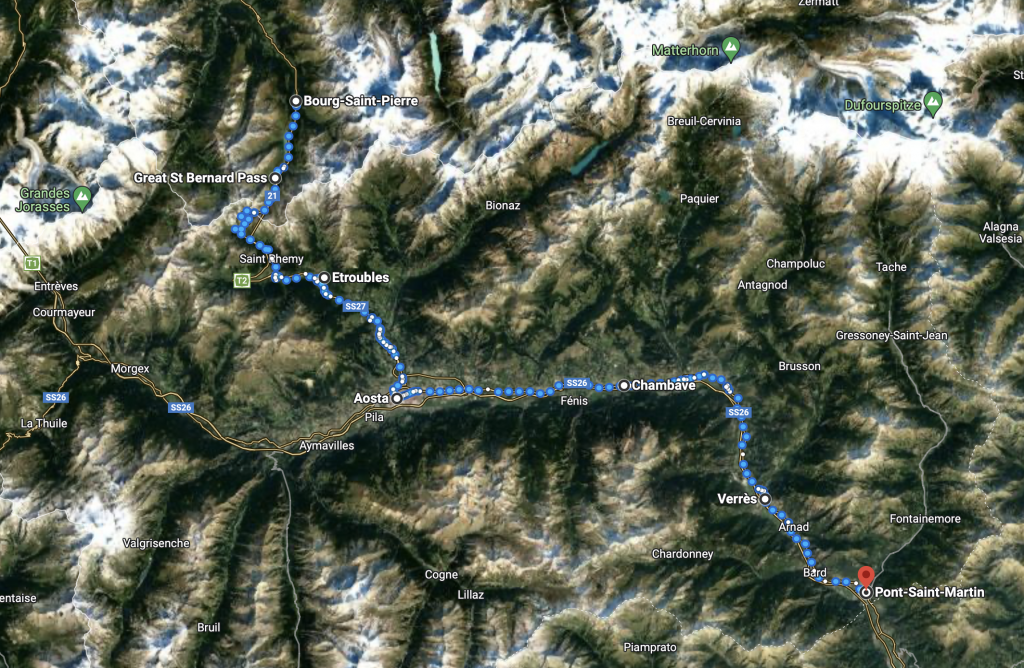
We decided to begin our trek in Bourg St. Pierre in Switzerland, then hike over the St. Bernardo Pass, and continue through the Val d’Aosta in Italy. The trek would involve six full days of hiking over a total of 114 km, beginning at an altitude of 1,632 meters, climbing to 2,473 meters at the St. Bernardo Pass, and ending, after many ups and downs, at 345 meters in Pont St. Martin, Italy.
Where You Gonna Sleep Tonight?
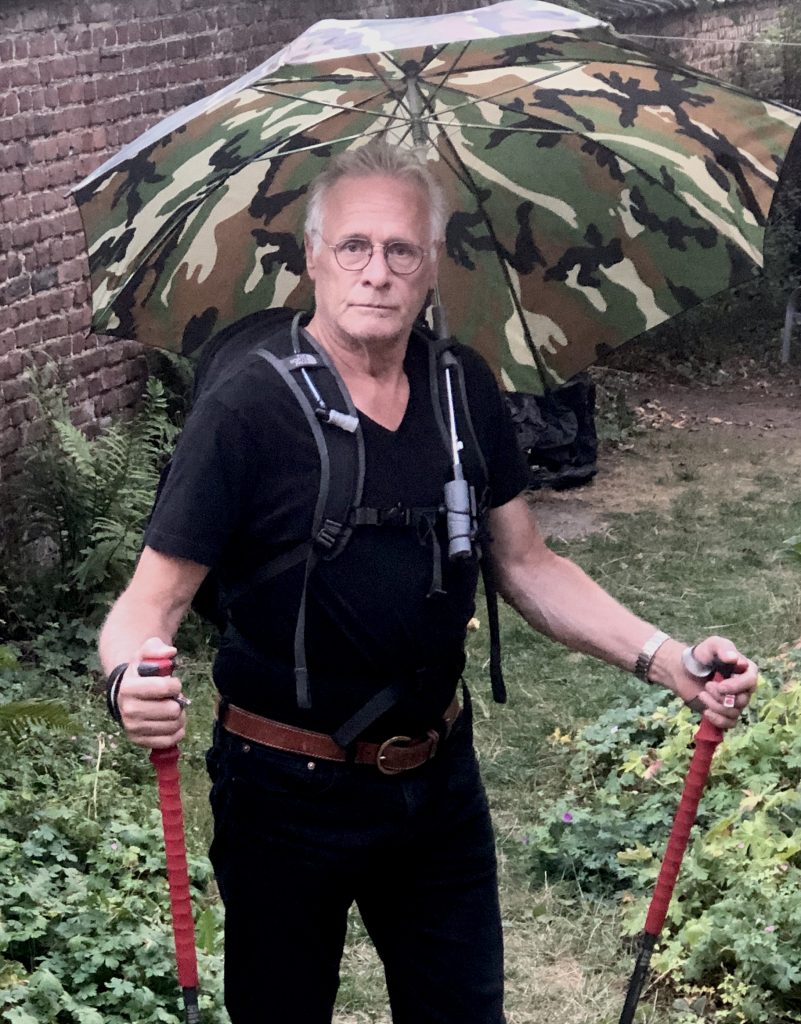
When evaluating the likely effort that we would have to put out, as well as our minimal trekking expertise and moderate physical condition, we opted to sleep each evening in a simple hotel rather than camp outdoors along the trail. This would reduce the weight we would have to carry every day and ensure a hot shower and sound sleep every night. Additionally, we organized to have our excess baggage transported each day to the next hotel where we would be staying that evening. In this way, we had only to carry the food and water for each day and extra clothing to deal with possible changing weather. This also left room for useful equipment and supplies such as food, eating utensils, water, umbrellas, hiking poles, a first aid kit, smart phones, paper maps, and a camera to record the trip.
Equipment and Gadgets
There is a wide choice of equipment lists that you can find on the internet, catering to everyone from hard core trekkers to simple day-hikers to people like us who fall somewhere in-between. After compiling our personal equipment list from the many lists I consulted, there was very little that I found I needed to purchase or that I would not have taken anyway. There were, however, several items that I did end up including that I might not have otherwise:
- Given the heat and occasional rain that was forecast for much of our trip, a bunch of elastic fasteners to attach an umbrella hands-free to our backpacks looked like great added value.
- The hot weather forecast also pushed us to take bottles/bladders with drinking tubes hooked over the shoulder straps of our backpacks so that it would be easier to continually rehydrate without stopping.
- After a quick look at the altitude differences, especially for the ascent to and the descent from the San Bernardo pass on the first and second day, we decided to take our hiking poles.
- I wanted to build my own first aid kit instead of buying a ready-made one, so I found it very helpful to start from a list of items based on their likely use. To this I added a first aid field guide.
- I added an external battery pack for my smart phone just in case.
- There were several applications that I downloaded onto my smart phone that promised to either be useful or just fun:
- GPX files with a GPX viewer app showing in detail the different sections of the trail we would be hiking;
- A hiker’s app that would track our movements, wherever we hiked, giving the distance covered, the elevation and the time elapsed;
- An app that scans and recognizes the different plants, flowers, birds and insects we would encounter during the hike;
- An app for real-time, precise, local weather forecasts;
- And, of course, Google Maps.
Internal Family Marketing
Once all of this technical and physical preparation had been done, I wanted to make this first-of-a-kind trip come alive for my family. To help them visualize where we would be going and prepare them for the effort that would be needed, I put together a PowerPoint presentation giving a brief history of the Via Francigena, showing the precise itinerary that we would be following, setting out the distance and elevation that we would cover each day with the time it would take, and including photos of the sights that we would see and the hotels where we would sleep.
We used these presentation print-outs one evening as basis for me, as the overall organizer, to present the trip. Having the details of the trip, with maps and photos, generated questions and helped to illustrate the answers. This presentation took quite a bit of time to prepare, but in retrospect, I think that it was worth it and that I will do this in the future for every vacation that we take as a family. But next time, I will ask my kids to organize the trip and do the presentation.
__________________________________________________________
➡️ This blog will be followed by a second part going into details of our hike as it actually took place ⬅️
__________________________________________________________


